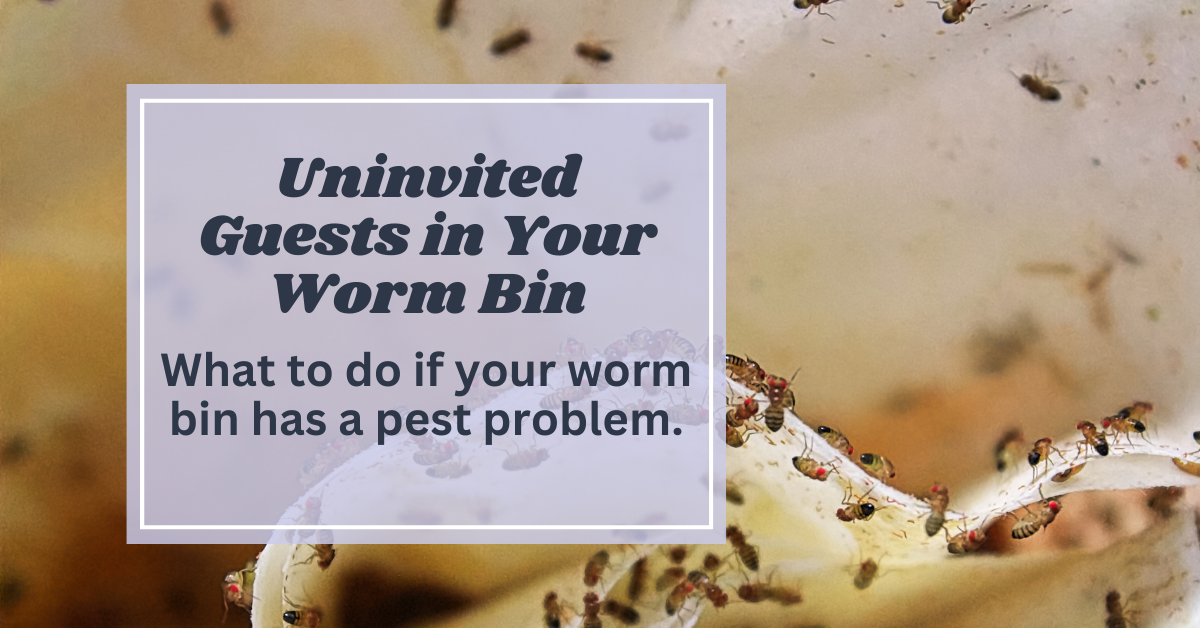
Uninvited Guests in Your Bin: What to Do If Your Worm Bin Has a Pest Problem
Please note that this post may contain affiliate links, which means we may earn a commission if you make a purchase through our links, at no extra cost to you. Learn more.
Pests can pose significant challenges in indoor worm bins, and the impact of these pests can differ greatly from those in outdoor bins.
While outdoor worm bins may face fewer issues with pests due to natural predators and environmental conditions, indoor worm bins are more contained and directly affect your living space.
Identifying and addressing pest problems indoors is crucial to maintaining a healthy vermicomposting system and ensuring your home remains comfortable and pest-free.
In this guide, we’ll explore common indoor worm bin pests, preventive measures, and practical steps for handling and resolving pest problems. By understanding and managing these issues effectively, you can maintain a thriving and healthy composting environment right inside your home.
Identifying Common Pests
Proper identification of pests is the first step in managing them effectively. Each type of pest has unique characteristics and signs that can help you recognize and address the problem.
Fruit Flies
- Description:
- Fruit flies are small, reddish-brown flies with a distinctive buzzing sound. They are attracted to fermenting food and high moisture levels in your worm bin.
- Signs of Infestation:
- Look for small flies hovering around the bin, especially near the surface or any food scraps. You might also see them gathering around moist areas or decaying food.
Gnats
- Description:
- Gnats are tiny flying insects that thrive in damp environments. They often appear as small, dark flies and can be found near the soil surface.
- Signs of Infestation:
- Gnats are usually visible as they fly around the bin. You might also notice their larvae, which resemble tiny white worms, in the upper layers of the compost.
Ants
- Description:
- Ants are small insects that can invade your worm bin in search of food or moisture. They are usually brown or black and may form visible trails.
- Signs of Infestation:
- Ants can be seen marching into and out of the bin, often around food scraps or damp areas. Their presence can be more noticeable outside the bin as they explore for food.
Mites
- Description:
- Mites are tiny arachnids that can be difficult to see without a magnifying glass. They can vary in color from white to reddish-brown.
- Signs of Infestation:
- Mites may cause the compost to appear dusty or dry. They might also be seen crawling on the surface or within the compost. In severe cases, they can affect the health of your worms.
Preventing Pest Problems
Taking preventive measures can significantly reduce the likelihood of pest infestations in your indoor worm bin. By maintaining proper conditions and practices, you can create an environment that deters pests and supports healthy vermicomposting.
Maintaining Proper Bin Conditions
- Temperature and Moisture Control:
- Keeping your bin at the right temperature and moisture level is crucial. Most worms thrive in a range of 55-77°F (13-25°C). Moisture should be kept at a level where the bin feels like a wrung-out sponge—damp but not soaking wet. Proper ventilation helps prevent excessive moisture buildup and discourages pest attraction.
- Regular Maintenance:
- Perform regular checks to ensure that the bin is balanced. This includes monitoring moisture levels, mixing the compost to aerate it, and ensuring there’s no excess food or stagnant areas where pests might thrive.
Avoiding Overfeeding
- Food Scraps Management:
- Overfeeding can lead to excess food that decomposes slowly, creating a breeding ground for pests. Start with small amounts of food and increase gradually based on how quickly the worms consume it. If food scraps are left uneaten for too long, they can attract pests like fruit flies and gnats.
- Monitor Food Intake:
- Pay attention to how much food you’re adding relative to the bin’s capacity and worm population. Adjust the amount based on the worms’ processing speed to avoid excess and potential pest issues.
Proper Food Scrap Preparation
- Preparation Tips:
- Chop food scraps into smaller pieces to help worms break them down more quickly. This reduces the risk of food scraps becoming a pest attractant. Avoid adding large chunks of food, and make sure to bury scraps in the compost to minimize their exposure.
- Choosing the Right Foods:
- Focus on adding a variety of fruit and vegetable scraps, coffee grounds, and eggshells. Avoid adding meat, dairy, and oily foods, which can attract pests and cause imbalances in the bin.
Handling Pest Infestations
If pests do invade your worm bin, it’s important to act promptly to manage and resolve the issue. Here’s how to address common pests and maintain a healthy composting environment.
Fruit Flies
- Immediate Actions:
- To tackle fruit flies, reduce moisture levels in the bin by adjusting the amount of water added and ensuring proper ventilation. You can also cover the surface of the bin with a layer of dry, shredded paper or cardboard to reduce exposure.
- Long-Term Solutions:
- To prevent recurrence, ensure that food scraps are properly prepared and buried in the compost. Regularly check and clean the bin to remove any decomposing food that could attract fruit flies.
Gnats
- Immediate Actions:
- For gnats, reduce excess moisture and aerate the compost to dry out the top layers where gnats tend to lay eggs. You can use sticky traps near the bin to catch adult gnats.
- Long-Term Solutions:
- Maintain a balanced moisture level and monitor food scraps to prevent overfeeding. Ensure good ventilation and avoid leaving food scraps on the surface of the bin.
Ants
- Immediate Actions:
- To address ants, move the bin away from ant trails and clean any areas where ants have been seen. Ensure the bin is sealed properly to prevent ants from entering.
- Long-Term Solutions:
- Regularly inspect and clean around the bin to avoid attracting ants. You can also use ant baits or barriers around the bin’s base to deter ants from approaching.
Mites
- Immediate Actions:
- For mite infestations, adjust moisture levels to avoid overly damp conditions, which mites thrive in. Increase airflow in the bin to reduce mite populations.
- Long-Term Solutions:
- Maintain proper bin conditions and monitor for signs of mites regularly. If mites persist, consider transferring your worms to a new bin with fresh compost, ensuring all conditions are optimal to prevent future infestations.
When to Start Over With Your Worm Bin
Sometimes, despite your best efforts, pest problems can become too severe to manage effectively. In these cases, starting fresh with a new bin may be the most practical solution.
Recognizing Severe Infestations
- Description:
- Severe infestations may involve large populations of pests that overwhelm your ability to control them. This can result in significant imbalances in your worm bin, such as excessive moisture, foul odors, or a high number of pests outpacing the worms’ ability to handle them.
- Indicators:
- Signs that your bin may require a fresh start include persistent pest problems despite corrective measures, significant die-off of worms, or the bin becoming unmanageable due to overwhelming pest populations.
Starting Fresh
- Steps to Transfer Worms:
- Begin by setting up a new bin with fresh compost and bedding materials. Ensure the new bin has the correct moisture level, temperature, and ventilation.
- Gently transfer your worms from the old bin to the new one. Be careful to remove as many pests as possible during the transfer.
- Set up the new bin with a balanced mix of food scraps and avoid overfeeding to prevent new infestations.
- Setting Up a Fresh Vermicomposting System:
- Follow best practices for maintaining proper conditions, such as regular monitoring, appropriate feeding practices, and maintaining moisture levels.
- Keep the new bin in a location with good ventilation and away from areas that may attract pests.
Key Take Aways
Managing pests in your indoor worm bin requires vigilance and a proactive approach.
By understanding the common pests, implementing preventive measures, and knowing how to handle infestations, you can maintain a healthy and effective vermicomposting system.
Remember, not all pests are harmful; some can be part of a balanced composting ecosystem. However, when pest populations become overwhelming, starting fresh with a new bin and transferring your worms can be a practical solution.
Regular monitoring, proper bin maintenance, and thoughtful feeding practices will help you keep your indoor worm bin in optimal condition.
With these strategies, you can enjoy the benefits of successful vermicomposting and keep your indoor environment pest-free.


