How to Store Worm Castings
Please note that this post may contain affiliate links, which means we may earn a commission if you make a purchase through our links, at no extra cost to you. Learn more.
How to Store Your Worm Castings
Worm castings are often referred to as “black gold” for good reason. They are rich in nutrients and beneficial microorganisms that can significantly enhance soil health and plant growth. However, to maximize their benefits, proper storage is essential. This guide will walk you through the best practices for storing your worm castings, ensuring they remain effective and ready for use.
Understanding the Living Nature of Worm Castings
Before we discuss storage methods, it’s important to understand that worm castings are not just inert matter – they’re teeming with life!
This living aspect is what makes them so valuable for your garden, but it also impacts how you should approach storage.
Worm castings contain:
- Beneficial Microorganisms: These include bacteria, fungi, and protozoa that contribute to soil health and plant growth.
- Enzymes: These biological catalysts help break down organic matter and release nutrients.
- Humic Acids: These complex organic compounds improve soil structure and nutrient availability.
The living components in worm castings are what set them apart from synthetic fertilizers. They create a symbiotic relationship with plant roots, enhancing nutrient uptake and boosting plant immunity.
However, these living elements also mean that worm castings can change over time and are sensitive to environmental conditions.
How this Impacts Storage for Castings:
- Oxygen Needs: The aerobic microorganisms in castings require oxygen to survive. This is why some airflow is beneficial for short-term storage.
- Moisture Balance: Living organisms need some moisture to survive, but excess moisture can lead to anaerobic conditions or mold growth.
- Temperature Sensitivity: Extreme temperatures can kill beneficial microorganisms or cause them to go dormant.
- Nutrient Changes: Over time, the continued activity of microorganisms can alter the nutrient composition of the castings.
- Shelf Life: Unlike synthetic fertilizers, worm castings don’t last indefinitely. Their effectiveness can diminish over time as the living components die off or become less active.
The goal is to maintain an environment that keeps these beneficial organisms in the castings alive and active, while preventing the growth of harmful organisms like mold. This balance informs the storage methods and conditions we’ll discuss in the following sections.
Preparing Castings for Storage
Before storing your worm castings, it’s crucial to ensure they are in optimal condition:
- Moisture Content: Ideally, your castings should feel slightly moist but not wet. Aim for a moisture level of around 40-60%. If they are too wet, they can develop mold during storage; if too dry, they may lose some beneficial properties.
- Removing Unwanted Materials: Sift through the castings to remove any large pieces of unprocessed food scraps, bedding, or worms. This will help maintain the quality of the stored castings.
Common Storage Methods
For short-term storage (a few weeks to a couple of months), it’s important to choose methods that protect the castings while allowing for some airflow. Here are a couple of effective options:
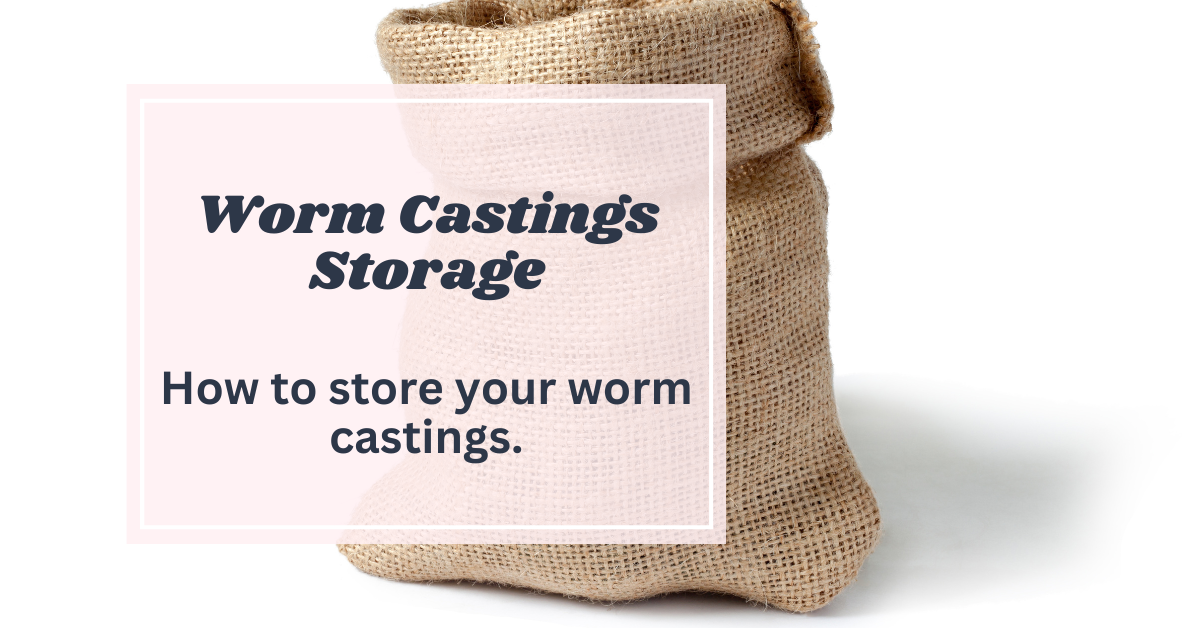
- Indoor Storage: Store your castings in a cool, dark place, such as a basement or garage. Use breathable containers like burlap sacks or cardboard boxes to allow airflow while preventing moisture buildup.
- Outdoor Storage: If storing outdoors, keep the castings in a shaded area to protect them from direct sunlight and rain. Use breathable bags or bins with ventilation holes.
Optimal Storage Conditions
To keep your worm castings in prime condition:
- Temperature: Aim for a storage temperature between 50-70°F (10-21°C). Extreme temperatures can affect microbial activity and nutrient levels.
- Humidity Control: Keep humidity levels low to prevent mold growth. If necessary, use desiccants in airtight containers to absorb excess moisture.
- Light Exposure: Store castings in a dark environment. Light can degrade some of the beneficial microorganisms present in the castings.
Container Choices
Choosing the right container is crucial for maintaining quality:
- Breathable Containers: For short-term storage, breathable options like burlap sacks or cardboard boxes allow airflow and help prevent moisture buildup.
- Airtight Containers: For long-term storage, use airtight plastic bins or vacuum-sealed bags to keep out moisture and pests.
Maintaining Casting Quality During Storage
Regularly check your stored castings for signs of mold or pests. If you notice any issues, take action immediately by removing affected areas or transferring the castings to fresh containers.
Common Storage Mistakes to Avoid
To ensure the longevity and effectiveness of your worm castings, avoid these common mistakes:
- Storing in plastic bags without ventilation.
- Keeping them in direct sunlight.
- Overly wet conditions leading to mold growth.
- Ignoring temperature fluctuations.
Conclusion
Properly storing your worm castings is essential for maintaining their quality and effectiveness as a natural fertilizer. By following these guidelines—preparing your castings correctly, choosing suitable storage methods and containers, and monitoring conditions—you can ensure that your “black gold” remains ready for use whenever you need it. Happy gardening!


