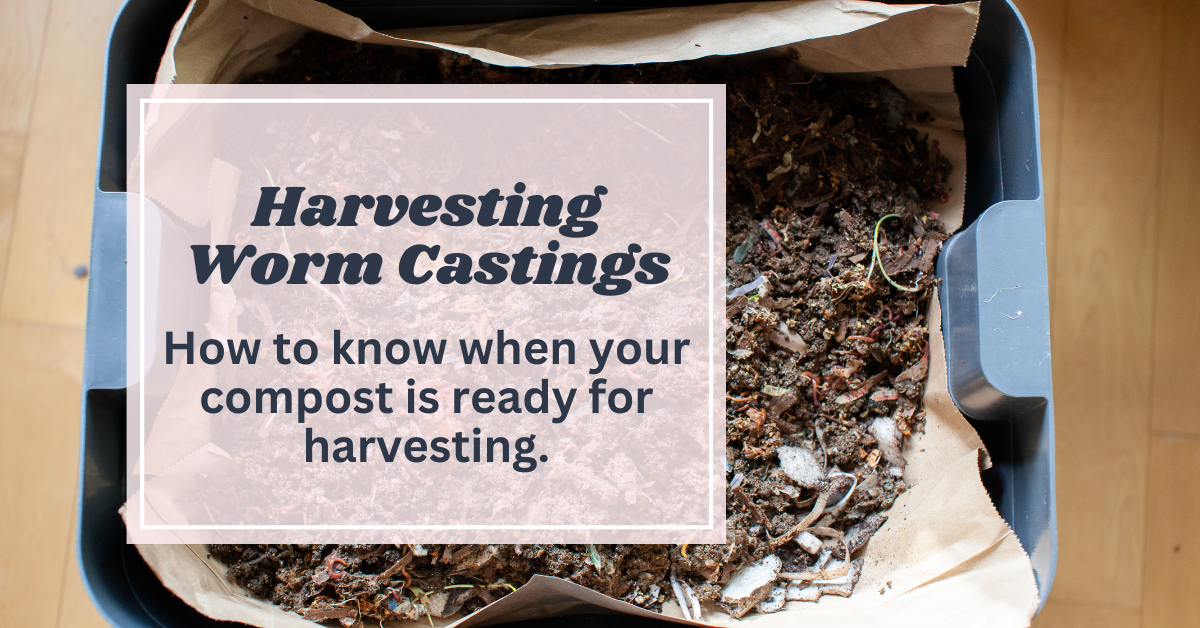
Harvesting Worm Castings: How To Know When Your Compost is Ready
Please note that this post may contain affiliate links, which means we may earn a commission if you make a purchase through our links, at no extra cost to you. Learn more.
Indoor vermicomposting is a fantastic way to turn food scraps into nutrient-rich compost, even in small spaces.
One of the greatest benefits of maintaining a worm bin is the production of worm castings, the dark, soil-like material left behind as worms break down organic matter.
However, knowing when and how to harvest these castings is crucial to keeping your bin healthy and productive.
In this post, we’ll explore what castings are, how to tell when your worm bin is ready for harvesting, and cover three common methods you can use to collect castings in small, indoor setups.
What Are Worm Castings?
Worm castings, sometimes called “black gold” by gardeners, are the nutrient-packed byproduct of worm digestion.
As worms process food scraps, their digestive system breaks down the organic material, transforming it into castings that are loaded with beneficial microbes, enzymes, and nutrients like nitrogen, phosphorus, and potassium.
This makes worm castings an excellent natural fertilizer for plants.
They help improve soil structure, retain moisture, and provide a slow-release nutrient source, making them ideal for both indoor plants and outdoor gardens.
How to Tell When Your Worm Bin is Ready for Harvesting
Knowing when your bin is ready for harvesting is crucial to ensure you’re getting the most out of your worm composting system.
Here are some signs that indicate your castings are ready to be collected:
- Appearance: The bin should be filled with dark, crumbly, and soil-like material. The castings should have a rich, earthy smell, similar to fresh forest soil.
- Reduced Food Scraps: You should notice fewer recognizable food scraps and bedding materials. The organic material should have been broken down into fine particles.
- Time Frame: Typically, it takes about 3 to 6 months for a small indoor bin to accumulate enough castings for harvesting. This timeline can vary based on factors like the size of your bin, the number of worms, and the amount of food waste.
Three Common Indoor Harvesting Methods
The Light Method (Manual Separation)
- How it works:
- Dump the contents of your worm bin onto a large surface like a plastic sheet or container.
- Use natural or artificial light to drive worms away from the surface of the pile.
- Gradually scoop off the top layer of castings until you reach the worms.
- Best for:
- Smaller indoor setups, especially if you don’t mind handling the material.
The Horizontal Migration Method
- How it works:
- Push all the material (castings, worms, and bedding) to one side of the bin.
- Add fresh bedding and food to the other side of the bin.
- Over time (a week or two), worms will migrate toward the fresh food, leaving the castings behind.
- Once the worms have moved, you can easily scoop out the castings.
- Best for:
- Indoor bins with enough space for side-to-side movement.
- Bins where you want to minimize direct handling of worms.
The Vertical Migration Method (Using Trays)
- How it works:
- Many stacking worm bin systems are designed for vertical migration.
- Add food and bedding to the top tray while the worms process material in the lower trays.
- As worms finish composting material in the lower trays, they naturally migrate upward in search of fresh food.
- Once the worms have moved up, you can remove the lower tray of castings for harvesting.
- Best for:
- Multi-level bin systems, ideal for apartments or small indoor setups with limited space.
- Easy and low-maintenance harvesting method for those who prefer less frequent interaction with the bin.
Tips for Successfully Harvesting Worm Castings
Harvest in Phases
- You don’t have to harvest all the castings at once.
- Remove portions as needed to keep your bin active and your plants nourished.
Avoid Over-Harvesting Your Worm Bin
- Always leave some castings in the bin to maintain the microbial activity that helps worms process food.
- Over-harvesting can disrupt the balance of your bin and slow down the composting process.
Proper Storage of Worm Castings
- Keep harvested castings in a cool, dark place in a breathable container (like a cloth or paper bag) to maintain moisture and microbial life.
- Avoid sealing them in airtight containers, as this can lead to anaerobic conditions and reduce the quality of the compost.
Using Your Worm Castings for Indoor and Outdoor Plants
For Indoor Plants
- Sprinkle castings around the base of houseplants or mix them into potting soil.
- This provides a slow-release source of nutrients and improves soil structure.
For Outdoor Gardens
- Incorporate castings into garden beds or use them as a top dressing.
- They enhance soil fertility, improve drainage, and boost plant health.
Conclusion
Regularly harvesting worm castings keeps your indoor worm bin healthy and efficient.
Choose the harvesting method that best suits your indoor setup and your comfort level with handling worms and castings.
With the right approach, you’ll enjoy the benefits of fresh, nutrient-rich compost for all your plants.